Last year I went out Inorganic Rubbishing with my friend. Now I usually am one who can not stand people who go through rubbish when it is Inoganic Rubbish Week! They can be very messy and some people are usually only after Metal to take to the metal recyling places for some quick cash, though last year the big one was PLASTIC...yes PLASTIC we learnt was more in demand price wise at the plastic recyling places. So all the old TVs people were putting out with the upgrade from Analog to Digital TV here in NZ were being snapped up quickly (the back pieces at least!).
Anyway, Ive pulled a few things out in the past 11yrs from the inorganic, old school wooden high chairs when my niece was born that we fixed up. A Entertainment Unit to convert into a kitchen (that was 2013's job that I havent even DONE yet..!!) and a rocking horse too from the same pile a few days later which needs a couple pieces of wood replaced on it. Technically speaking its not permitted to go through rubbish, but I havent seen the council out EVER giving out fines etc for doing so!
So my lovely friend took me out, I was in a way a bit of a virgin to this and soon became slightly addicted to it, it was rather interesting seeing what people throw out. Clothes, toys, books, sewing patterns all in GOOD condition, sometimes even complete, not broken or anything like that, literally stuff you could on sell or give away for free. I must say I semi sort of caught the bug, it was rather exciting at first! I literally spent a good portion of my time planning out which areas had their collection, I spent ALOT of time with my friend, it was great in a way for my depression just having social contact, laughing and yes our kids even came with us on some occasion and they got to spend time together. I found some interesting things, some old vintage suitcases, couple of cane bassinets, a cane dolls pram (which I STILL need to get the wheel base for!!) - some good ride on toys and climing frames and other toys which some saw us fighting over like little kids! But I also found some frames, I was hunting for Shadow Box frames that I could use for my Baby Shower memory box, I wanted to put one of my favours in but I used baby food jars and I couldnt find anything deep enough to fit it in! And buying a custome made frame was just out of the question for me due to the cost, likewise the options here in New Zealand arent very good over other places. I found a couple of frames while I was hunting, one had a paper tole in it that had fallen off into the frame and so I started to pull it apart to see how it was assembled, and so this is a tutorial on how to make one similar using a flat frame. Refer to DIY | Baby Shadow Box Memory Keepsake Frame {TUTORIAL WITH PICTURES} for the basis of putting a Shadow Box Memory Keepsake Frame together.

Materials Needed:
- Photo Frame of your choice - any size should work really.
- Material or Scrapbooking Paper
- Keepsake Items: Photos, Favours, Invites, Games etc (anything relating to what ever your making your keepsake frame for)
- Embellishment (optional)
- Sewing Pins or Lilypins, Double Side Tape or Hot Glue
- Framing Tape
- Ruler
- Cutting Knife (craft knife or simlar) and Cutting Board
- Foam Board
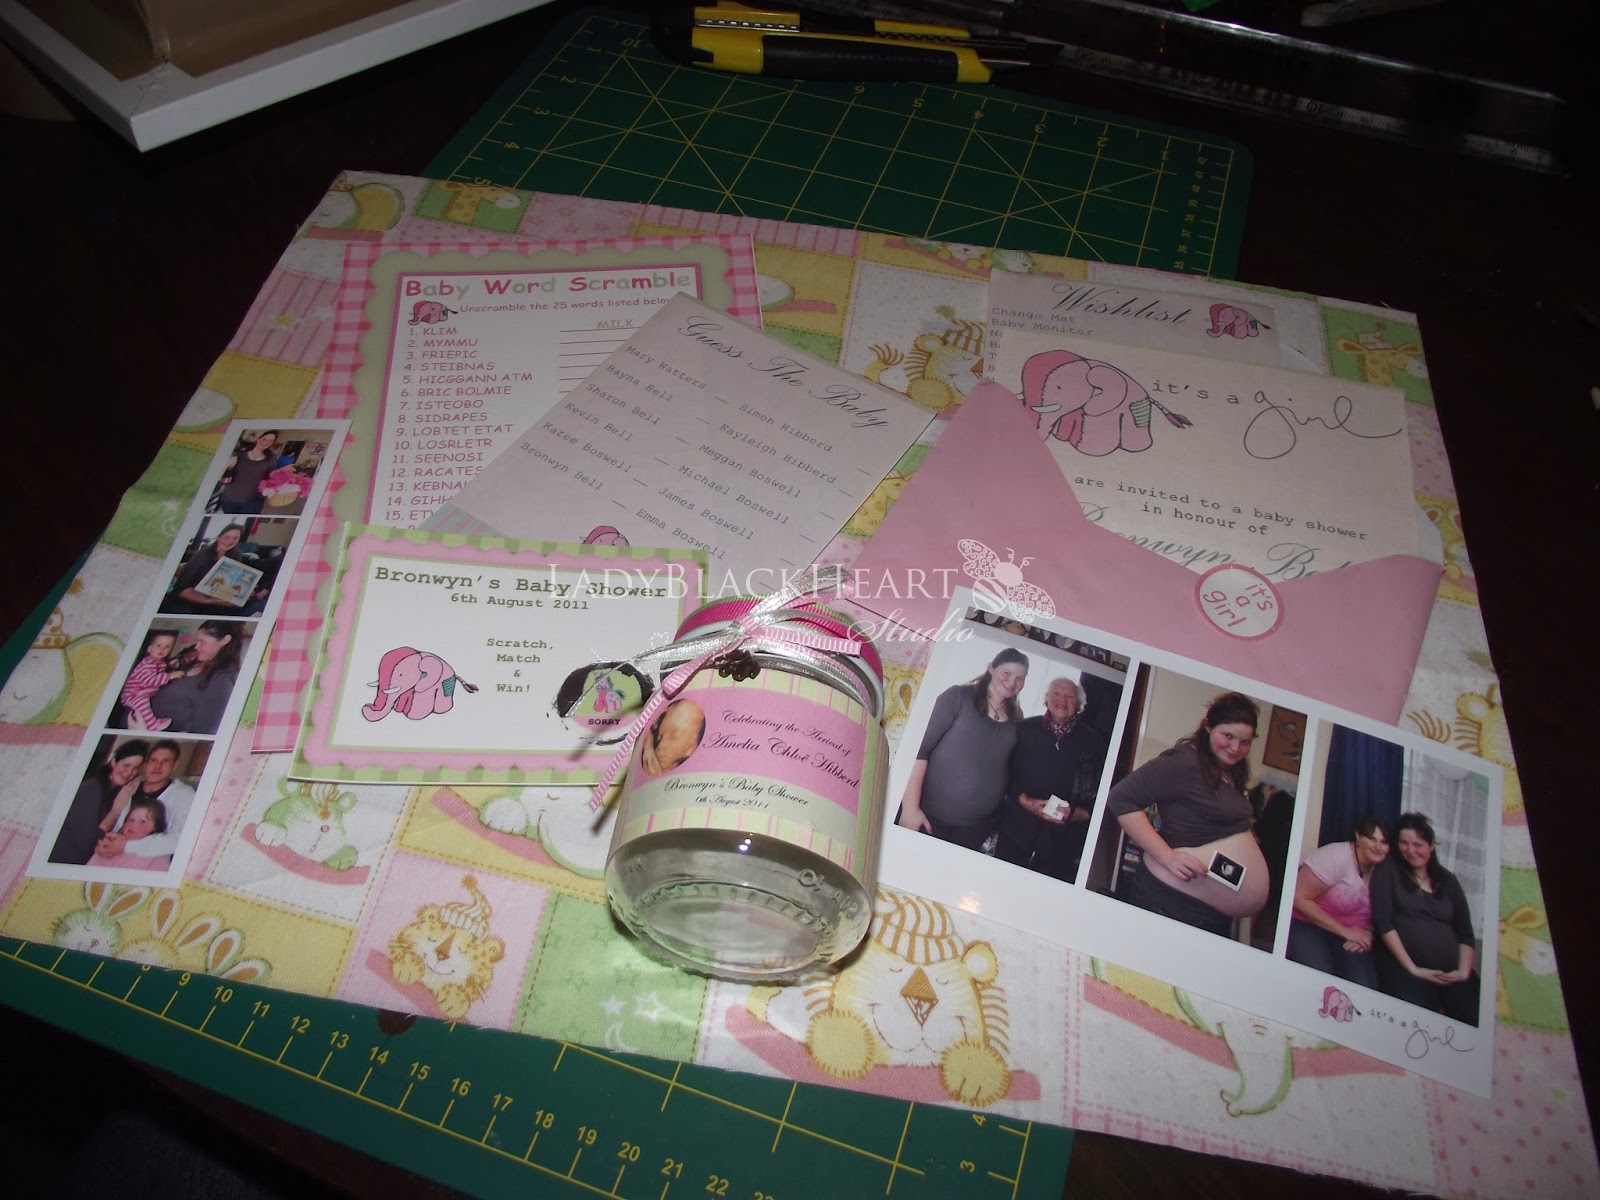
First things first, gather all your supplies together. Im making my frame for my baby shower from my daughter. I have soooo much left over as I had made enough for everyone I invited - sad story is pretty much none of those invited came and I was chasing up the night before hand who was coming (that and there was HUGE function on at work so most of the girls couldnt come.)..! Not something I enjoyed doing when I was meant to technically be in hospital for SPD!

This is the Framing Tape I am using, which I got from Bunnings for NZD$19.92. Its available in two different sizes, but there are many different framing tape types around, try your local hardware, art supply or stationary store, or local framers too. I hunted high and low for mine sadly..! Infact I had to go away from my local stores as they had none in stock! Or didnt stock it at all.

Next step is to dismantle your frame, my frame is a Geneva Collage Frame White 30x40 with Matt 4 Open White from The Warehouse Im not using my matt (I swear I have a small collection forming of these now!). Again its purely up to you if you want to keep your matt or not. The frame I am basing this on originally had two frames one that sat next to the glass and then one at the back towards the base board.
Im keeping my paper to put my memory items onto for this one over the base board. Its purely up to you.

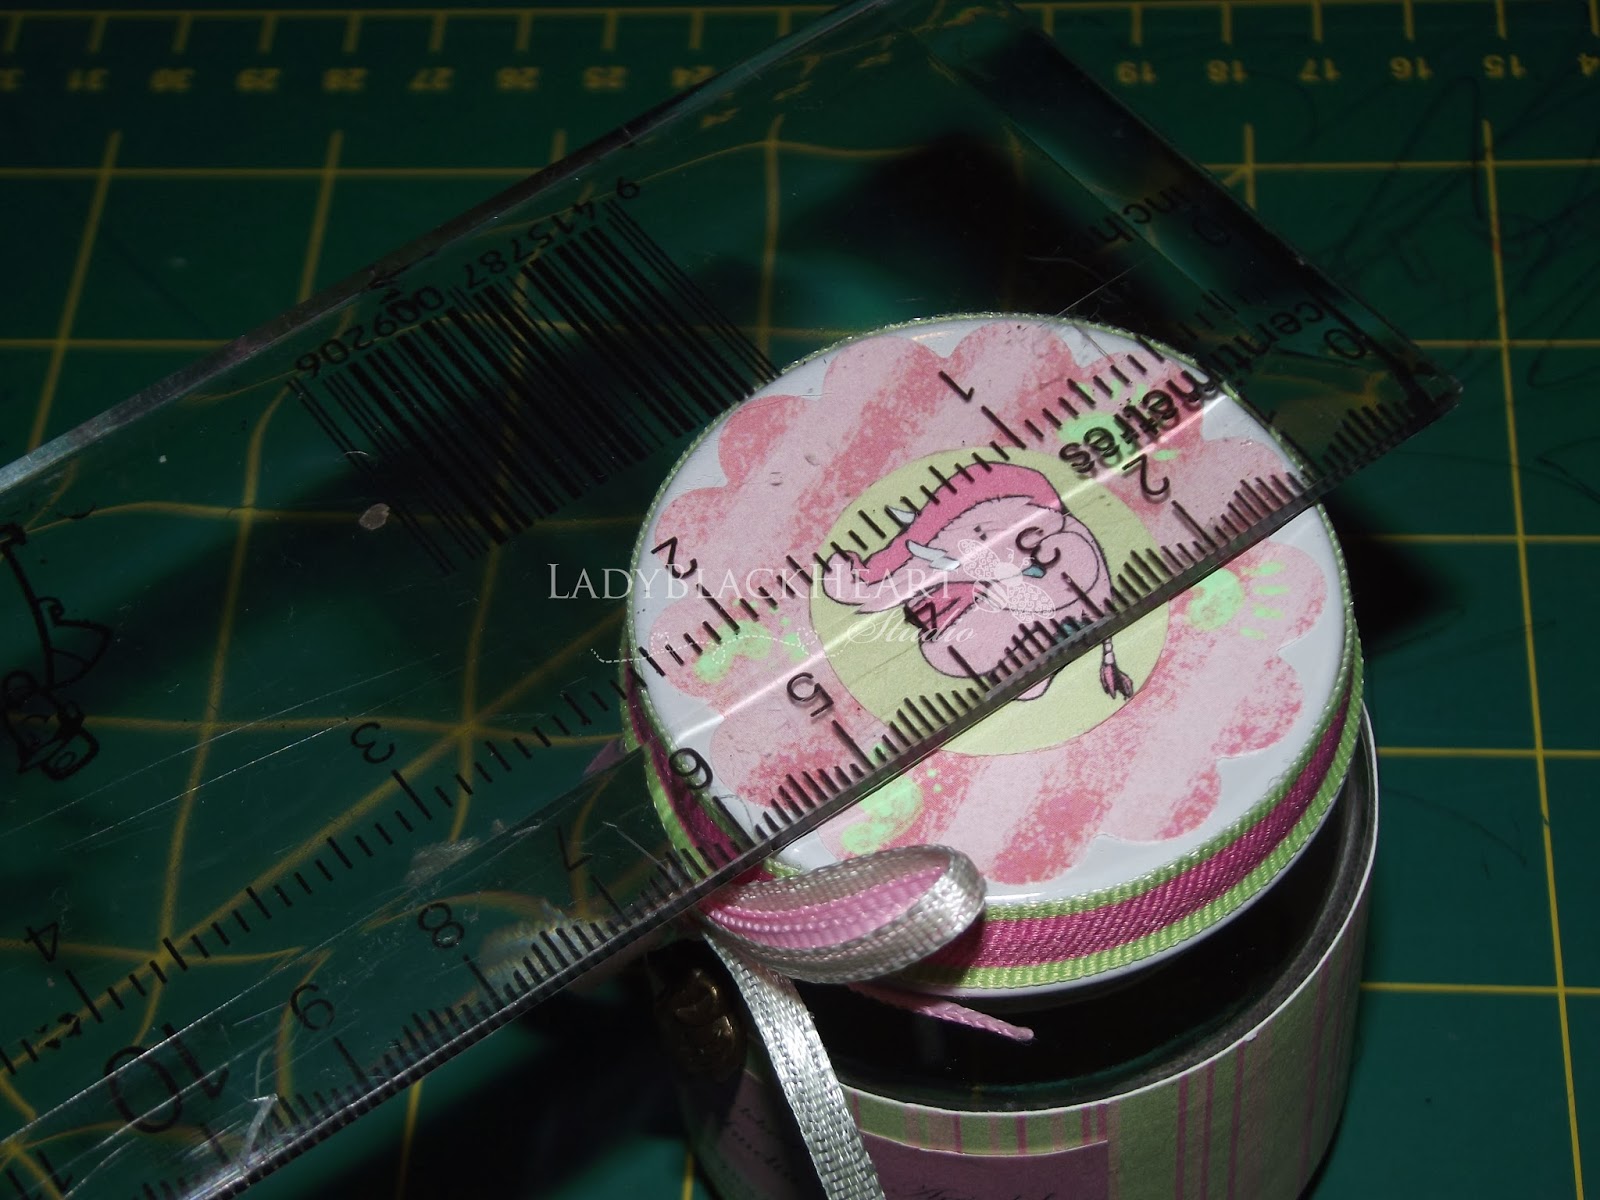
We need to get some measurements, I am using a baby food jar which has been my biggest challenge - my original frame I was going to use for this memory box was too narrow and I couldnt fit it in! And getting a frame custom made was our of the picture financially at this stage. I am going to allow 7cms to fit this in - this is how much my boxed out part will stick out by at the back of the frame.
Measure the thickness of your Foam Board - mine is 0.5cm approx. NOTE: Be sure to get foam board that matches the colour of your frame somewhat, I brought my board first then my after - I was going to use a black frame to start with!

Next, measure your frame, you want your two longer pieces the same exact width of the frame (in my case this was 40cm), then measure the shorter ends (in my case this was 30cm)

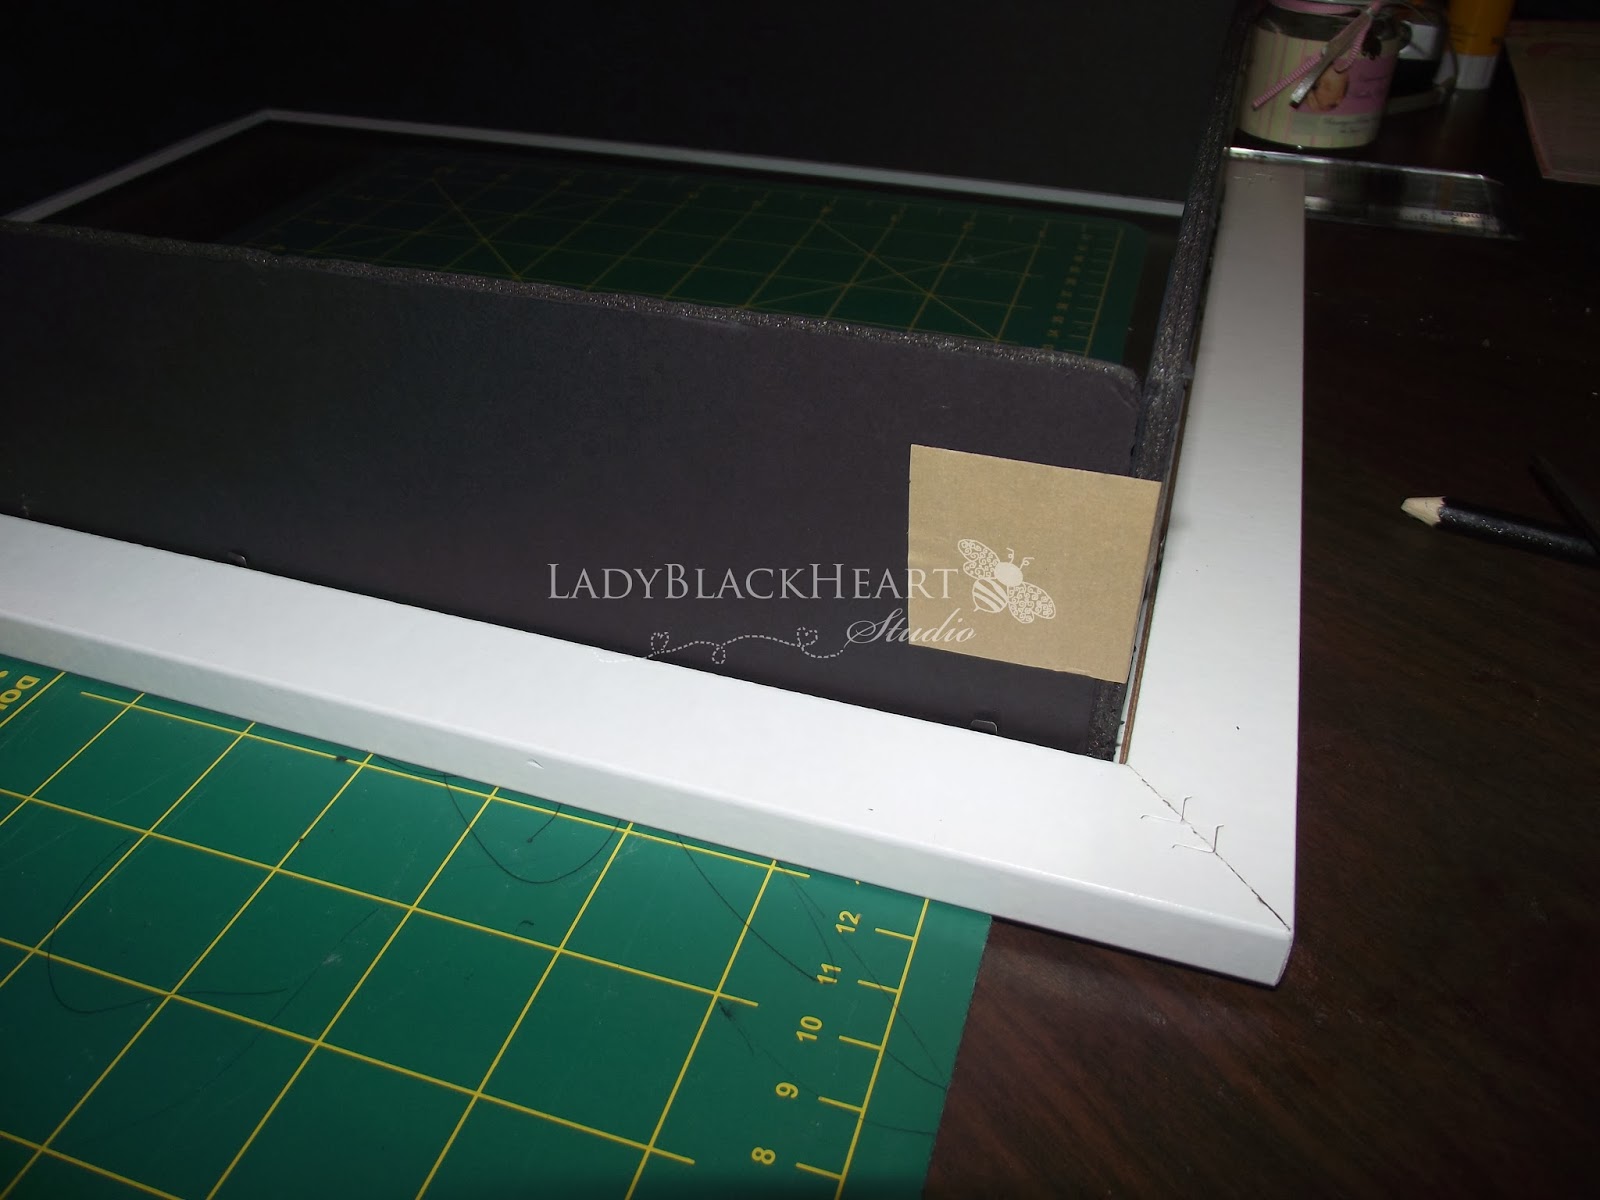
Measure out your side pieces based on all your measuresments onto your Foam Board. You need to take 0.5cms off each ENDS of the SHORTER pieces. I made a mistake in taking this off the end each piece..! So I have two peices that should measure 29x7cm and 40x7cm. Cut them out using a craft knife and ruler on a cutting matt.

Pop your side pieces into your frame, the shorter piece will sit INSIDE the longer pieces. Use some framing tape to hold the corners together.
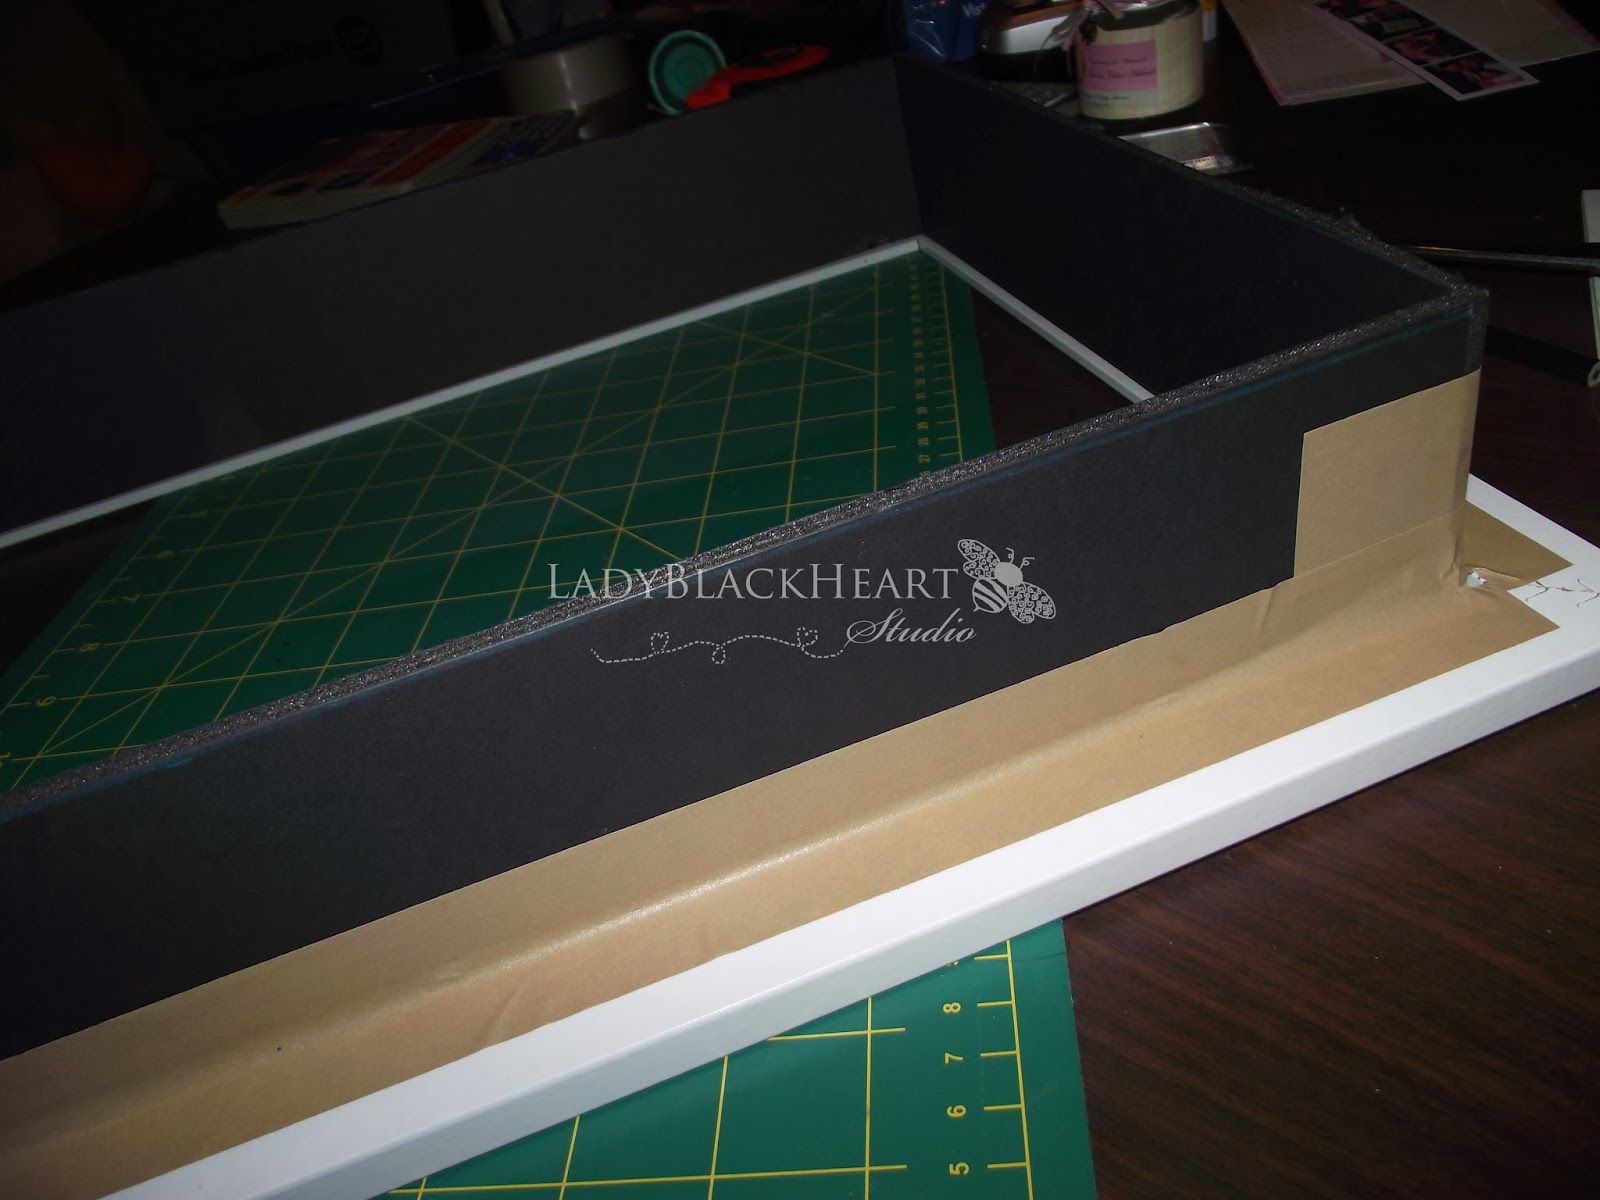
Next you want to put some tape around where the foam board and frame meet.
Plan your layout together and stick it all down with hot glue, lily pins, double sided tape etc - I used double sided tape for mine, my jar is pretty heavy I learnt as it fell off when I was taping everything together so I moved it down lower and popped some foam dots on the base to rest on the side of my frame. Like in my previous tutorial I used my base board as a template to cut my fabric out. I love this fabric as it pulls my baby shower theme all in nicely :)
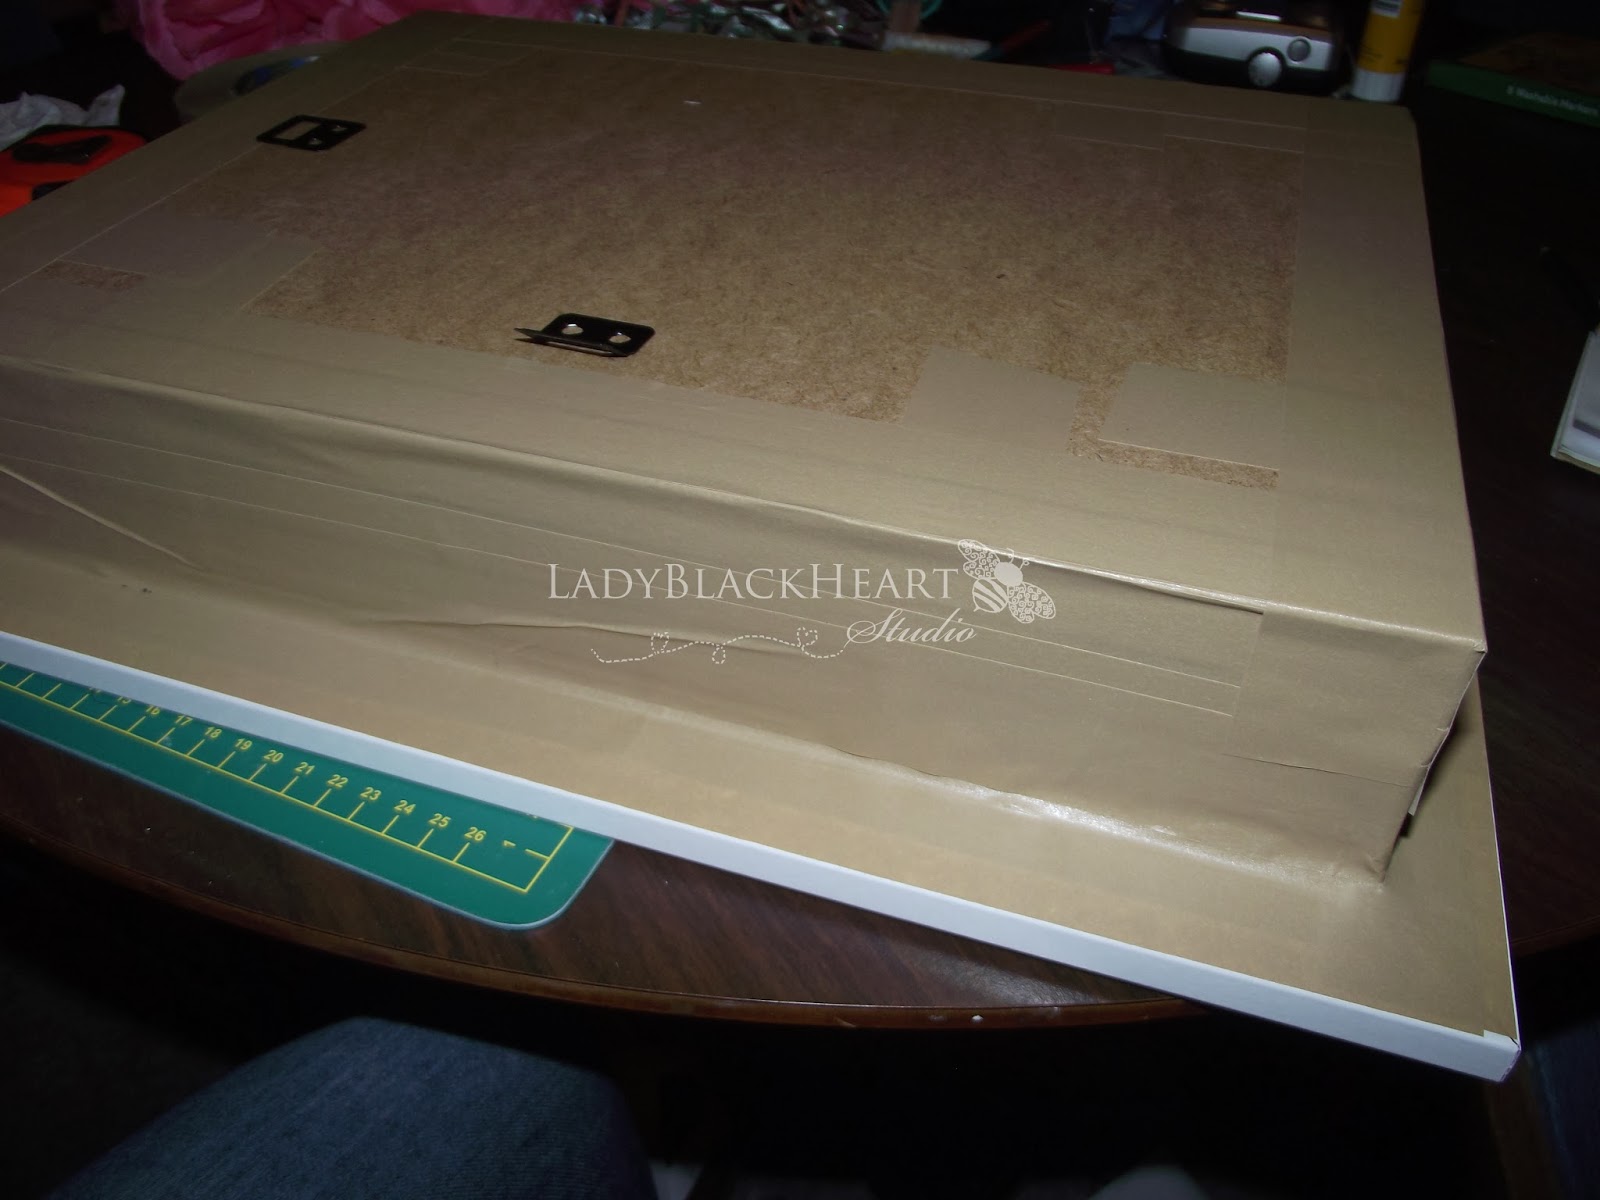
Put your base on top of your frame and tape it down. You can alternatively tape the sides first to the base board then put your frame on top and flip it over...(I did this too when my jar fell off and everything else! USE a STRONG double sided tape!! Even if that means spending out a bit more!).

The final step is to put a few layers on the back and sides, Sealing all the joins and running around the sides without cutting at the corners until you meet up to the starting point. I then finished off by putting some hook loops on the sides and using some string to hang my frame up over using the original fitting on the frame.
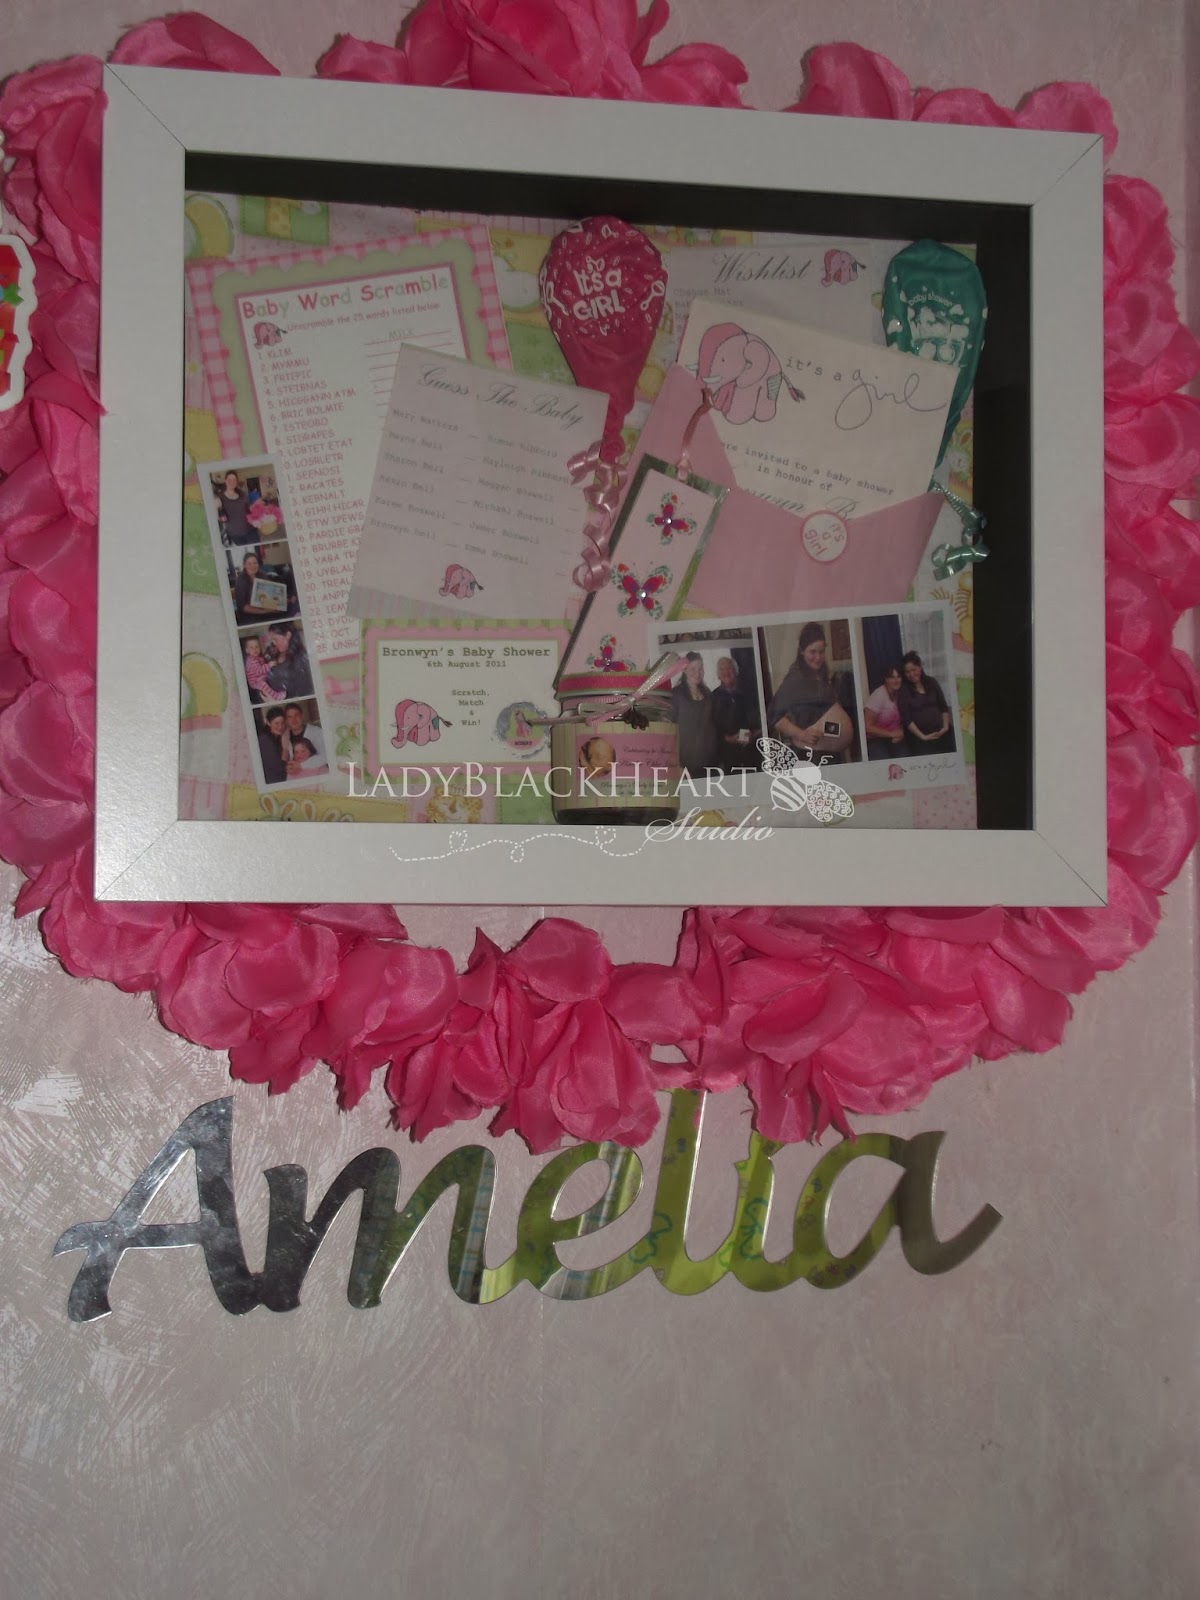
Here is my finished frame hanging up in my daughter's room..! As you can see I added some more extra items in. Again I used a template I had made for my previous frame for this one, in addition to modifying another storyboard I found online which I sadly cant remember where I got it from to credit! As you can see though the black and white dont mix very well, so I recommend getting white for lighter frames and black for darker frames! You can alwys paint them or put scrapbooking paper or fabric on them. :)
These probably arent as good as professional ones using wood but they are a quick inexpensive home DIY job!