Monday 25 August 2014

DIY | How To Make An I-Spy Bag {Picture Tutorial}

Last year I finally bit the bullet and attempted my first I-Spy Bag. It was just a tiny little sampler I made up, but my daughter LOVED it...!! I had all intentions of making mass amounts of these to add to my stock but I havent got around to doing so as of yet. This is partly due to the lack of little nic nacs to find to put into them. I brought a mass amount of Christmas Crackers on Clearance last year at Christmas time to get some things to put into them, but they still arent enough variety for my liking. Trying to find sources in New Zealand is hard!!! Without having to buy in from overseas I do know that you can get them on Etsy - a few names to look under crackalakin - AnniesMarket - HighPie (this is one of my faves).

Anyway, I had an order for one last year and I have just had another one come in, with that I have made my daughter a larger one to the original little sampler I made. We took them with us on our first plane ride 3 months ago, and they were a hit with the children of a friend I had been staying with at the time too. I have noticed some people use Rice or Beans in these, however because I make these to sell and they are such great things to take on long trips be it by air, land or sea etc they pose a risk when crossing international boarders through customs. My lovely next door neighbour works for MAF and I know that whilst domestically these are fine on planes however going on international flights in and out of New Zealand they arent allowed over if they contain food products like Legumes. So for mine I use the plastic toy pellets used for in toy bears etc.

This is a tutorial to show you how easy they are too make. Hopefully!! Any questions you may have feel free to ask.

You will need:

  • Fabric
  • Ribbon (optional)
  • Clear Plastic Vinyl
  • Plastic Toy Pellets
  • Little Nic Nacs/Trinkets/Charms etc
  • Sewing Machine and Thread
  • Scissors and/or Rotary Blade
  • Ruler
  • Pen or Taylor's Chalk/Marker
  • Cutting Board
  • Key Ring/Split Ring
  • Laminating Pouches and Machine
  • Printer and Photo paper
  • Hole Punch


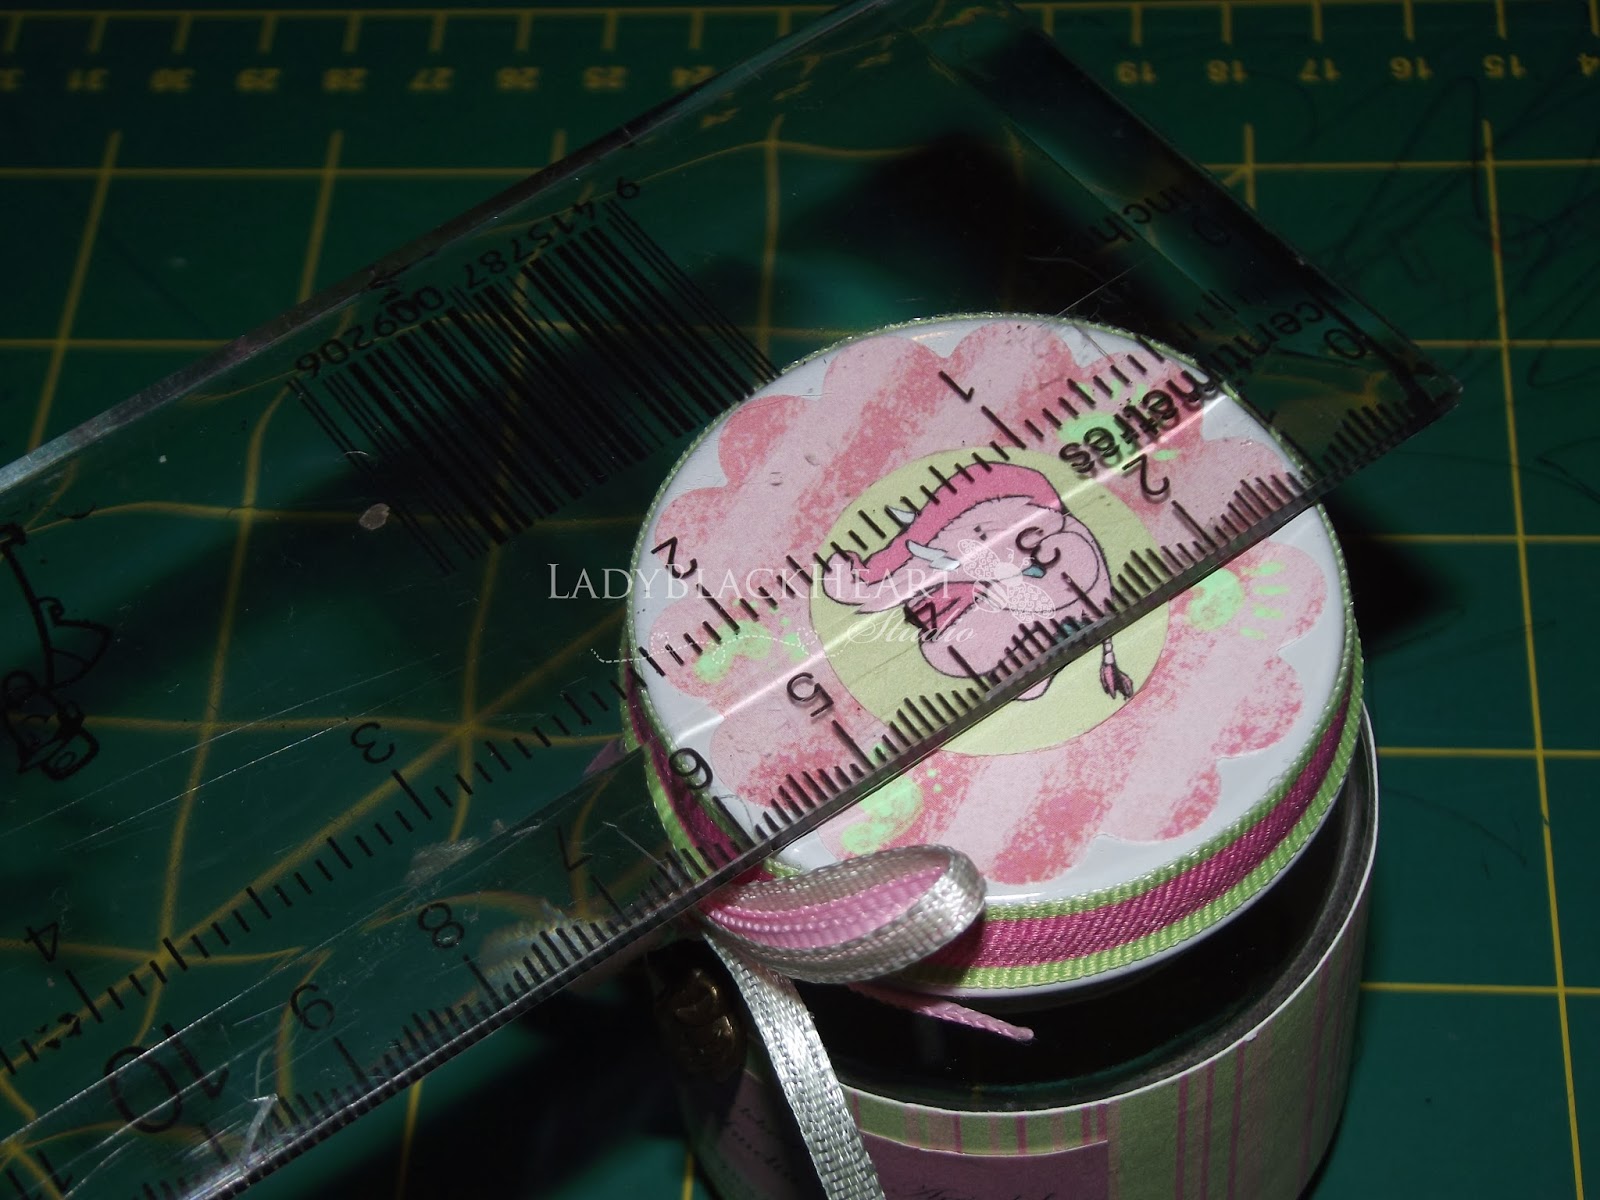
I am making this approx 6-7in in size.

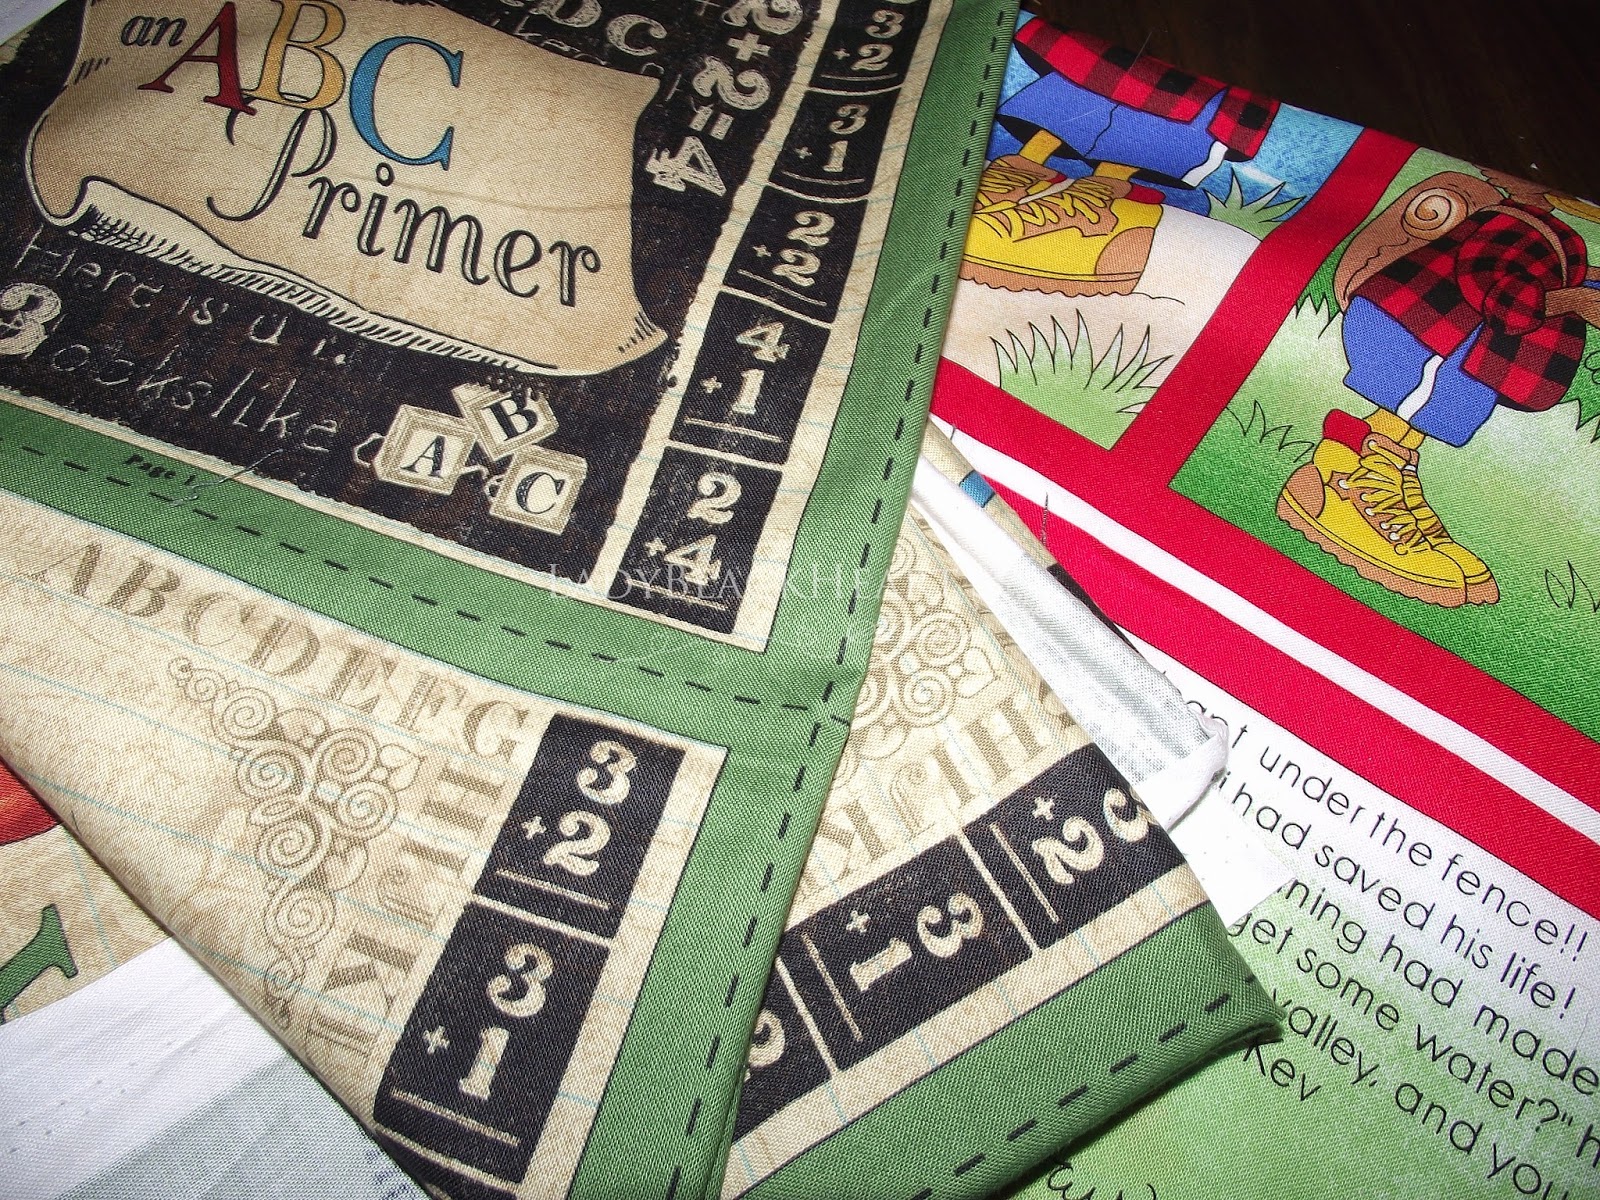
First you want to cut out ONE 8x8in square, TWO strips measuring 8inx2.5in and TWO strips measuring 5inx2.5in. (I cut mine just a little under!!).


Next cut a 5x5in square of Clear Vinyl. You can by this vinyl from your local fabric or craft store by the meter otherwise up-cycle the packaging from bedding etc..! 


Sew the 5x2.5in strips to the top and bottom of the vinyl square.


Sew the 8x2.5in strips to the opposite sides of the vinyl square. 


Once this is all completed you can top sew around the edge of the vinyl window to help keep the seams sitting down nice and flat (I didnt with looking back now that it is all completed, packaged up ready to be sent out!)


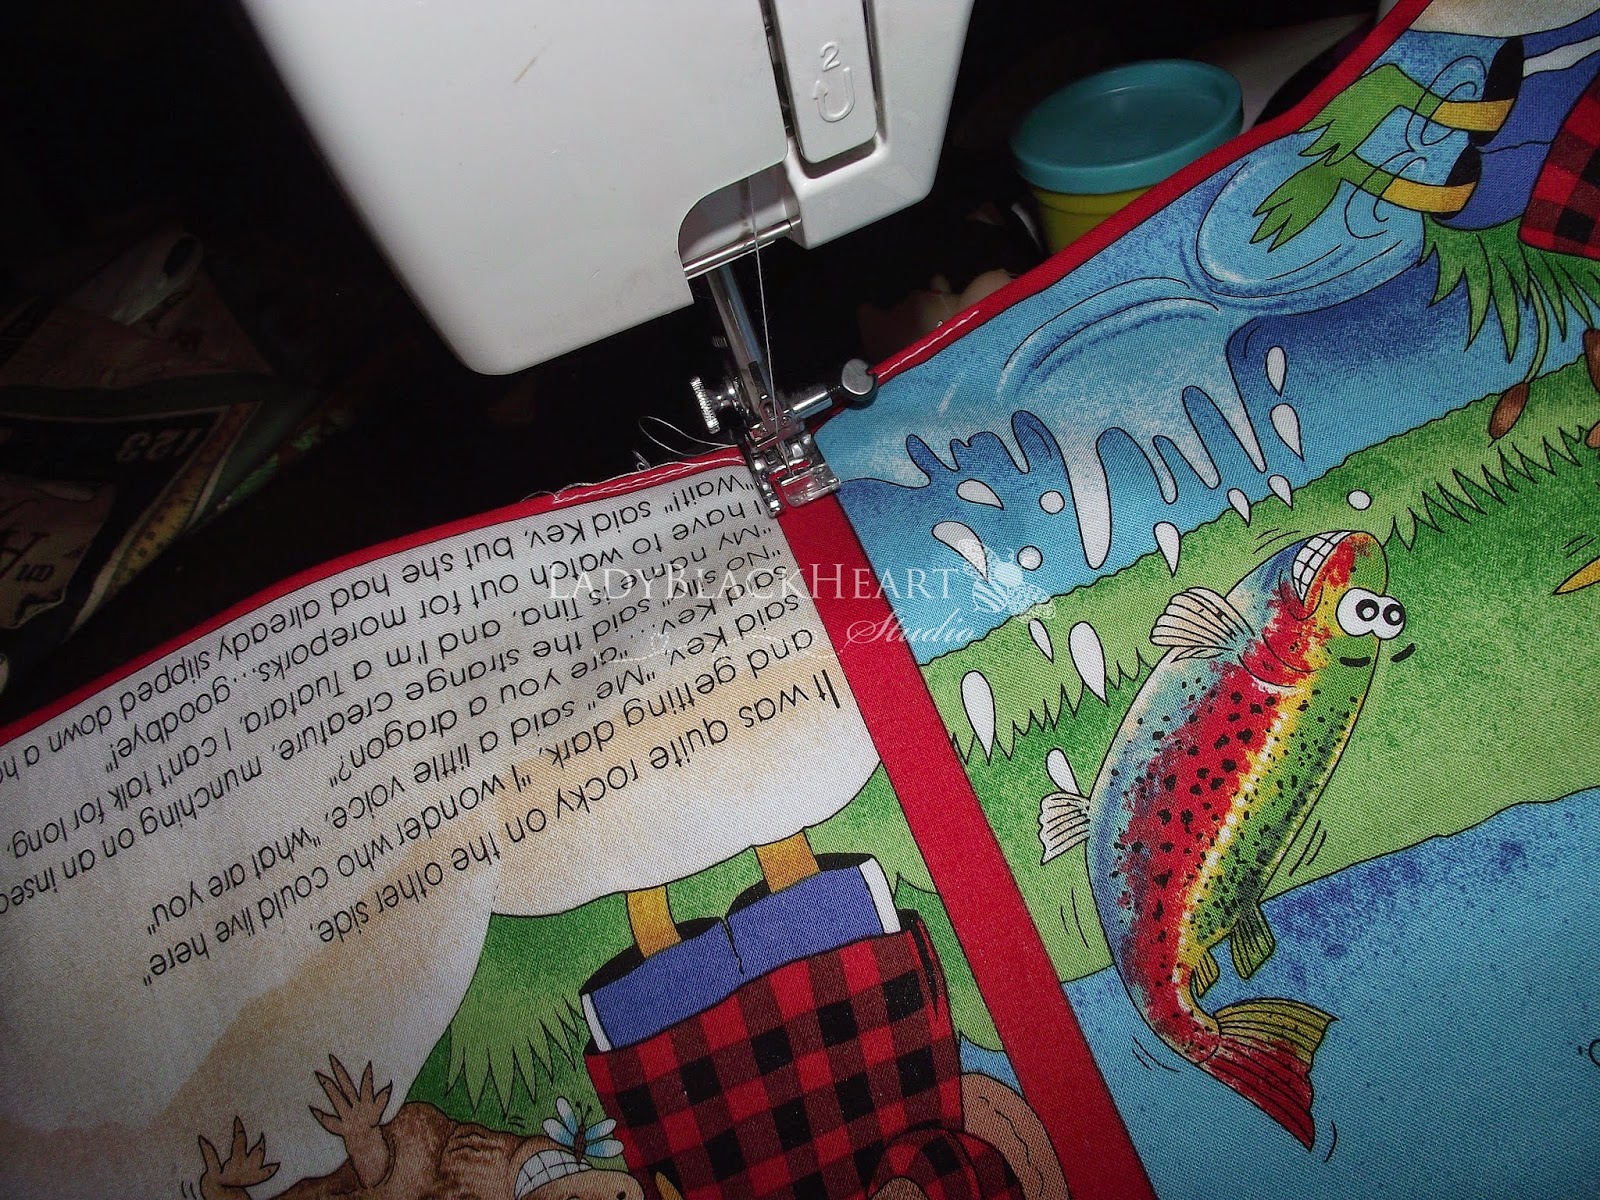
Line your base up with the top piece with the window in it and sew around the  edges, remember to leave a gap for turning and filling.


Trim the edges of excess fabric if you have any (I cut some of my strips a little too short as you can see some Im a little wonky!!!).


Cut the corners, not too close to the stitching though.  This gives them a nice clean and not so bulky corner when you turn it right side out.


Once turnt out the correct way, top stitch close to the edge to give it a nice finish. This is optional!


These are the toy pallets I use in mine. You can find these at your local craft store in the toy making area usually.


I like to use a funnel to fill my bags with. Fill it approx half to three quarters  full, you dont want it to be too bulky otherwise you wont be able to move things around and find the hidden treasures.


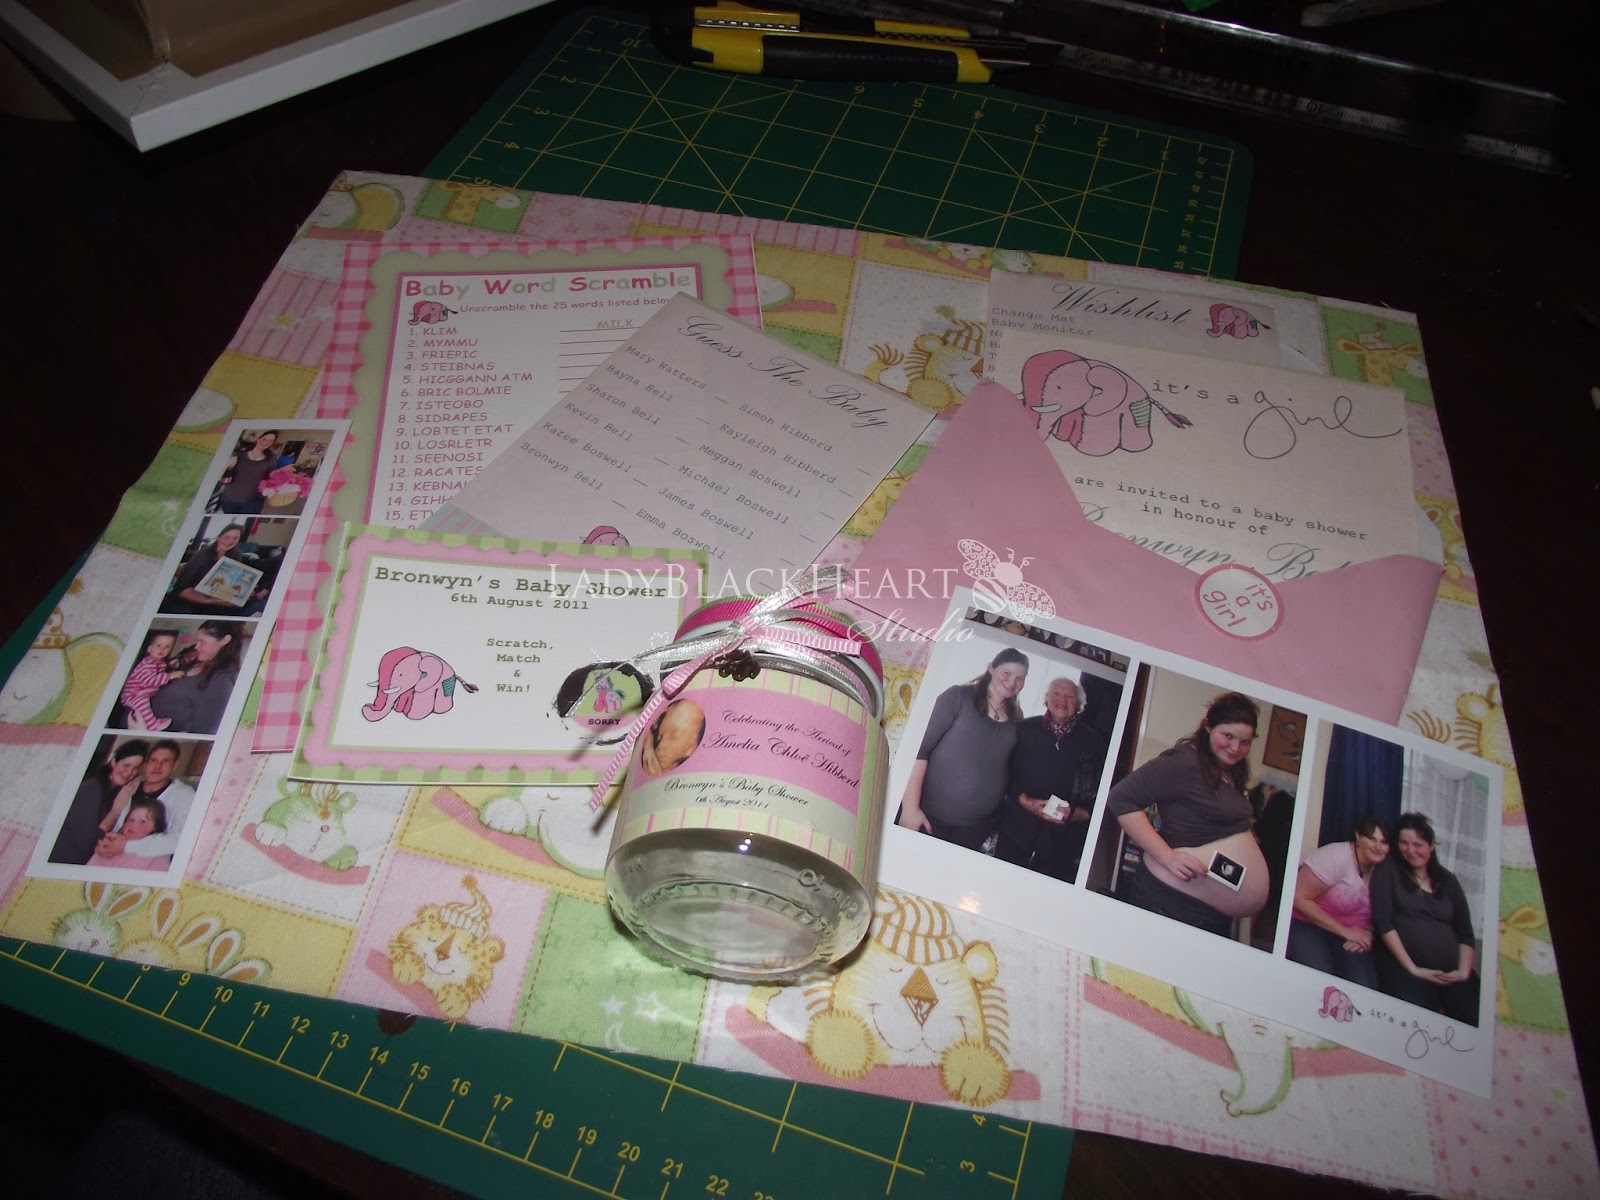
Next pick out the goodies for inside, now is a good time to take a photo of them, I like to put mine on a sheet of white paper to do this. You could get creative with this process and write up a list of things to find not just the main items in there, some of the things we like to do with one of the ones I made for my daughter when we were looking at it is finding how many Yellow items there are, how many red...how many square or round... how many cars, insects...how many wooden, metal etc..


Put you goodies into the bag, insert a loop out of ribbon or matching fabric into the opening and triple stitch it closed. 


Print your photo and/or lists out either at home or at a photo center, laminate them either using a machine or you can get self adhesive pockets like these here.


Punch a hole in the corner and thread them all onto the key ring then attach this to the loop on the bag.


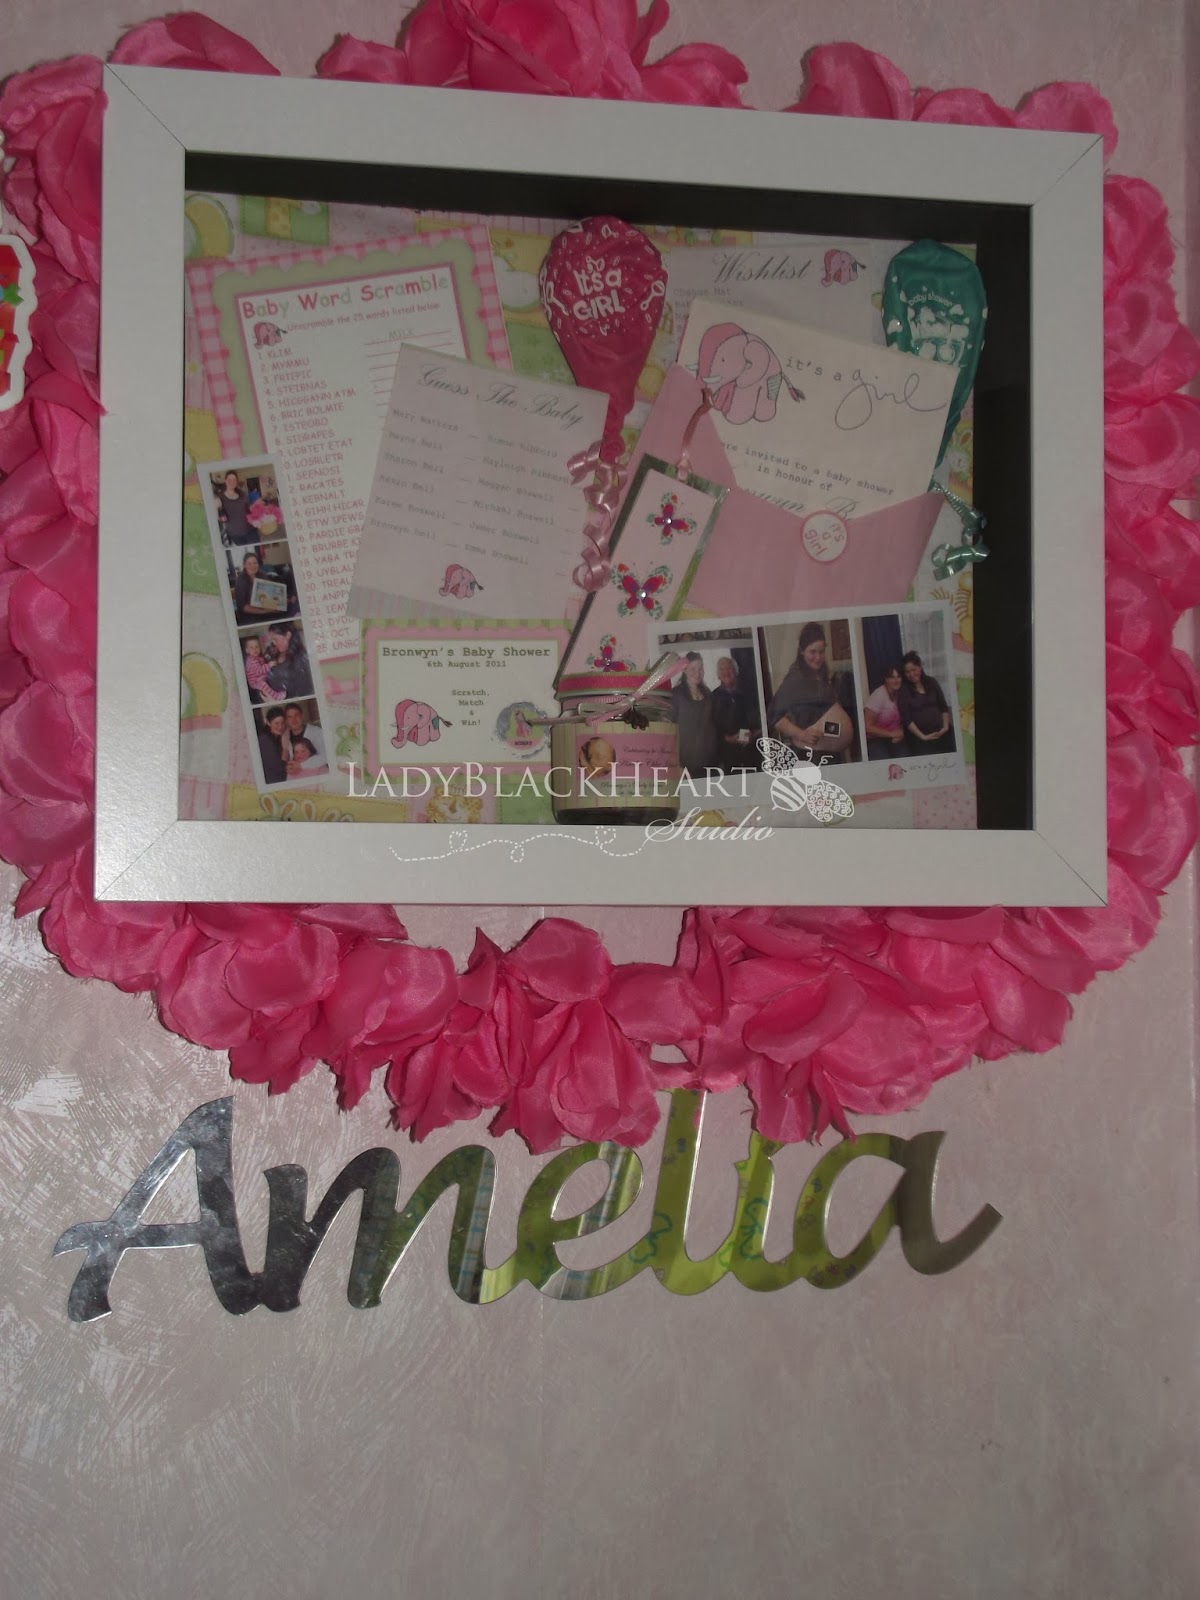
Your I-Spy Bag is now complete!


Friday 13 June 2014

Cloth Book Panel - Assembly Tutorial


Its no secret that I LOVE Cloth Book Panels. When I was a child I had a cloth book that my mum must of brought from somewhere, its was rather small but I use to love looking in it, in fact I still have it somewhere around!

12yrs ago when my sister was pregnant with my eldest niece Meggan I remember going to Spotlight and helping to make her items for her nursery, Im not sure how my sister came up with the theme of Noah's Arc but we just went along with it. I discovered Blue Jean Teddy and all these amazing panels of different things.... and there were some Book Panels. So my first taste of them were back then. Likewise in 2005 when my sister had my eldest nephew Michael I remember getting more book panels and making books for him, it was part of his first Christmas Present (he was born on Christmas Night, only just!!).

I however didnt make any for my youngest nephew and niece. BUT when it came to my daughter Amelia's first Christmas in 2011, I found some cloth book panels again and made them up for her. I actually had one stashed away for some time it turnt out, Im not sure why; I thought it might of been for my eldest nephew but he already had this book (I do have one of his books which sadly is badly damaged and I have never been able to track down a replacement one of this panel). I am slightly addicted to these panels, BUT as with all my addictions I have such good control over them due to finances. Believe me if money wasnt a factor I would buy them up large! 

I use to shove them on my watchlist on Trade Me, but I just couldnt afford to get them - they are sort of hard to find on there now I have noticed. I often see them at Spotlight, and I wait patiently for them to come on clearance or at least on sale (be it a storewide Fabric sale, Nursery Fabric Sale,  Quilting Fabric Sale etc or if I have a discount voucher). Today I went into Spotlight to window shop, I actually had plans to find some laminated cotton to make an art smock for Amelia instead I walked out with FOUR panels I found all on clearance, two of which I had never seen before, one of which, the Animals Around The World one I had been eying up since 2011 when I was pregnant this range has a globe planel as well and the Kiwiana for the past couple of years now I think, I have two Kiwiana themed ones already. 


I love these cloth books for a few reasons, for starters my beautiful daughter can not rip the pages, she is not able to chew on them or bend the pages back to snap them and break the spine (as per our board books), she can not bite hole in them (as per our plastic bath books) and lastly they can be thrown into the wash if need be! 

So I thought I would do a little tutorial on how you make these panels up. 


You will need:
  • Cloth Book Panel/s
  • Wadding (polyester, bamboo what ever tickles your fancy)
    OR
  • Iron on Interfacing
  • Cotton Thread
  • Sewing Machine
  • Iron (if using interfacing)
  • Needle and Pins
  • Scissors and/or Rotary Cutter
  • Cutting Board

Most of these panels always come with directions somewhere on how to make it so do not fret too much. You can make these up in either thick or thin or a mixture. I dont have enough wadding so I am only padding the cover for mine and leaving the pages thin. In my daughter's stash of these books they all vary in thickness. 


If this is your first time making these I would recommend you cut each page spread out separately, over time you can match them up and cut them out laid on top of it each (having said that I have had my fabric move and ended up cutting my pages a bit wonky - note the purple dragon one in my daughter's stash..!!!). You will find your panel will have marks on where to cut, but some panels dont always have these marks as you can see. This sometimes makes it a bit tricky as to where to cut and then later sew. I like to try and get my pieces all evenly spaced out where possible in this case. 


What I didnt do at the start is iron my panel first to make it all nice and flat, depending how your panel arrived and was packaged you may have some creases. I dont wash mine before cutting, Im not sure how they will turn out if doing so, I have read that sometimes they warp a wee bit, out of pure laziness I dont. For the purpose of this tutorial, my book panel featuring here was off the round cardboard tube type bolt and wasnt folded in anyway in the store racks. 

Once you have cut your pieces out, you need to iron some interfacing onto the wrong (dull) sides of the pages, make sure you put the shine dotty looking side down (I couldnt get this captured fully sorry), but this is the "glue" that when heated will melt and stick to the fabric. I didnt put any interfacing on my front cover pages though as I am putting wadding in. Your interfacing will go on every panel piece (except your covers if your doing it how I am).


Cut your wadding to size, likewise if you were making your book thick then you wouldnt need to use the interfacing and just cut wadding to size :) If you are using wadding, you only need to cut one per set of pages to go into the middle of it.


Team up your pages to their correct pair with right (bright) sides facing each other, if your panel came with directions it sometimes says on there what panel goes with what. If using wadding you only need place this onto one of the wrong sides. Pin in place if you feel the need to. Then sew around the edges, I am really sorry but I am no good with measurements in this area but I usually sew with at least 1/4" seam allowance depending how big the page border is. Make sure you leave an opening for turning and reinforce stitch your stop and start point. 


Once all sewn up, trim your corners, this gives them a nice clean and less bulky corner once turnt out. Iron your pages again if you wish to, now from here you can either hand stitch the opening closed, machine stitch it a couple of times or do a complete top stitch around the edges of your pages, its really up to you in my honest opinion, I have tried all of these mothods on the books in my daughter's stash.


Next you want to stack all your pages together, making sure they are in the correct order and then sew down the middle of your pages to create the spine, I like to do this two or three times to give it extra strength over a single stitch. Sometimes my machine get a little hormonal and grumpy esp if I am doing these as thick books and have some thicker wadding in them. Alternatively you could hand stitch through all the pages.


Close your book up and it is now completed and ready to be enjoyed and read!


Looking for places to get Book Panels from? Try some of the following places:


Lastly GOOGLE either "cloth book panels" or "soft book panels" and you will be linked up to many different places including local fabric, sewing, craft and quilting stores. 


Sunday 19 January 2014

DIY| Baby Shower Keepsake Frame - Shadow Box from a Flat Frame {TUTORIAL WITH PICTURES}

Last year I went out Inorganic Rubbishing with my friend. Now I usually am one who can not stand people who go through rubbish when it is Inoganic Rubbish Week! They can be very messy and some people are usually only after Metal to take to the metal recyling places for some quick cash, though last year the big one was PLASTIC...yes PLASTIC we learnt was more in demand price wise at the plastic recyling places. So all the old TVs people were putting out with the upgrade from Analog to Digital TV here in NZ were being snapped up quickly (the back pieces at least!). 

Anyway, Ive pulled a few things out in the past 11yrs from the inorganic, old school wooden high chairs when my niece was born that we fixed up. A Entertainment Unit to convert into a kitchen (that was 2013's job that I havent even DONE yet..!!) and a rocking horse too from the same pile a few days later which needs a couple pieces of wood replaced on it. Technically speaking its not permitted to go through rubbish, but I havent seen the council out EVER giving out fines etc for doing so!

So my lovely friend took me out, I was in a way a bit of a virgin to this and soon became slightly addicted to it, it was rather interesting seeing what people throw out. Clothes, toys, books, sewing patterns all in GOOD condition, sometimes even complete, not broken or anything like that, literally stuff you could on sell or give away for free.  I must say I semi sort of caught the bug, it was rather exciting at first! I literally spent a good portion of my time planning out which areas had their collection, I spent ALOT of time with my friend, it was great in a way for my depression just having social contact, laughing and yes our kids even came with us on some occasion and they got to spend time together. I found some interesting things, some old vintage suitcases, couple of cane bassinets, a cane dolls pram (which I STILL need to get the wheel base for!!) - some good ride on toys and climing frames and other toys which some saw us fighting over like little kids! But I also found some frames, I was hunting for Shadow Box frames that I could use for my Baby Shower memory box, I wanted to put one of my favours in but I used baby food jars and I couldnt find anything deep enough to fit it in! And buying a custome made frame was just out of the question for me due to the cost, likewise the options here in New Zealand arent very good over other places. I found a couple of frames while I was hunting, one had a paper tole in it that had fallen off into the frame and so I started to pull it apart to see how it was assembled, and so this is a tutorial on how to make one similar using a flat frame. Refer to DIY | Baby Shadow Box Memory Keepsake Frame {TUTORIAL WITH PICTURES} for the basis of putting a Shadow Box Memory Keepsake Frame together.


Materials Needed: 
  • Photo Frame of your choice - any size should work really.
  • Material or Scrapbooking Paper
  • Keepsake Items: Photos, Favours, Invites, Games etc (anything relating to what ever your making your keepsake frame for)
  • Embellishment (optional)
  • Sewing Pins or Lilypins, Double Side Tape or Hot Glue
  • Framing Tape
  • Ruler
  • Cutting Knife (craft knife or simlar) and Cutting Board
  • Foam Board  

First things first, gather all your supplies together. Im making my frame for my baby shower from my daughter. I have soooo much left over as I had made enough for everyone I invited - sad story is pretty much none of those invited came and I was chasing up the night before hand who was coming (that and there was HUGE function on at work so most of the girls couldnt come.)..! Not something I enjoyed doing when I was meant to technically be in hospital for SPD!


This is the Framing Tape I am using, which I got from Bunnings for NZD$19.92. Its available in two different sizes, but there are many different framing tape types around, try your local hardware, art supply or stationary store, or local framers too. I hunted high and low for mine sadly..! Infact I had to go away from my local stores as they had none in stock! Or didnt stock it at all.


Next step is to dismantle your frame, my frame is a Geneva Collage Frame White 30x40 with Matt 4 Open White from The Warehouse Im not using my matt (I swear I have a small collection forming of these now!).  Again its purely up to you if you want to keep your matt or not. The frame I am basing this on originally had two frames one that sat next to the glass and then one at the back towards the base board.
Im keeping my paper to put my memory items onto for this one over the base board. Its purely up to you.


We need to get some measurements, I am using a baby food jar which has been my biggest challenge - my original frame I was going to use for this memory box was too narrow and I couldnt fit it in! And getting a frame custom made was our of the picture financially at this stage. I am going to allow 7cms to fit this in - this is how much my boxed out part will stick out by at the back of the frame.


Measure the thickness of your Foam Board - mine is 0.5cm approx. NOTE: Be sure to get foam board that matches the colour of your frame somewhat, I brought my board first then my after - I was going to use a black frame to start with!
Next, measure your frame, you want your two longer pieces the same exact width of the frame (in my case this was 40cm), then measure the shorter ends (in my case this was 30cm)

 Measure out your side pieces based on all your measuresments onto your Foam Board. You need to take 0.5cms off each ENDS of the SHORTER pieces. I made a mistake in taking this off the end each piece..! So I have two peices that should measure 29x7cm and 40x7cm. Cut them out using a craft knife and ruler on a cutting matt.

Pop your side pieces into your frame, the shorter piece will sit INSIDE the longer pieces. Use some framing tape to hold the corners together.


Next you want to put some tape around where the foam board and frame meet.
 

Plan your layout together and stick it all down with hot glue, lily pins, double sided tape etc - I used double sided tape for mine, my jar is pretty heavy I learnt as it fell off when I was taping everything together so I moved it down lower and popped some foam dots on the base to rest on the side of my frame. Like in my previous tutorial I used my base board as a template to cut my fabric out. I love this fabric as it pulls my baby shower theme all in nicely :)


Put your base on top of your frame and tape it down. You can alternatively tape the sides first to the base board then put your frame on top and flip it over...(I did this too when my jar fell off and everything else! USE a STRONG double sided tape!! Even if that means spending out a bit more!).


The final step is to put a few layers on the back and sides, Sealing all the joins and running around the sides without cutting at the corners until you meet up to the starting point. I then finished off by putting some hook loops on the sides and using some string to hang my frame up over using the original fitting on the frame.


Here is my finished frame hanging up in my daughter's room..! As you can see I added some more extra items in. Again I used a template I had made for my previous frame for this one, in addition to modifying another storyboard I found online which I sadly cant remember where I got it from to credit! As you can see though the black and white dont mix very well, so I recommend getting white for lighter frames and black for darker frames! You can alwys paint them or put scrapbooking paper or fabric on them.  :)

These probably arent as good as professional ones using wood but they are a quick inexpensive home DIY job! 


Friday 3 January 2014

DIY | Baby Shadow Box Memory Keepsake Frame {TUTORIAL WITH PICTURES}

I welcomed my first baby into the world in September 2011 - a Rainbow baby at that, and I was a big Scrapbooker at the time, however with the demands of my pregnancy and complications during it I found myself not able to keep up with the album I had started for my pregnancy. I kept all sorts of things where possible with the vision to use them in a scrapbook in time, likewise with that came keeping little bits and pieces from my Baby Shower and once my daughter was born.

However I saw all over the Internet different Shadow Boxes with lots of keepsake items in them and popped it on my list of things to do...... my very long list of things to do and try out! It was sometime in Early 2012 that a friend and fellow Scrapbooker invited me to join Pinterest...... oh a very dangerous move I know! And from there I found so many awesome things, I pinned ooldes and ooldes of things I liked, wanted to try and make etc. I wasted so many hours on there, which I dont know if it was a good thing or not, I was at the time suffering from Insomnia with Post Natal Depression (my daughter was sleeping through the night at this stage so night feeds werent keeping me awake at all).

Anyway it was in 2012 that I actually started to really push LadyBlackHeart Studio into being a business. I had gotten some Fabric and a Frame in attempts to start a Shadow Box for my baby shower but became stumped when I couldnt find any deep enough to fit my Baby Shower Favour in...! (A baby food jar). So I left it in the "to do" box. Time since then just kept escaping me (so fast that I still havent even put my daughter's birth announcement into the local New Paper.... and probably wont now!!!)

Fast Track to 2014 and I finally found a frame I liked that wasnt too expensive either to at least get started! And so here it is, this is a little tutorial on how you can make one similar. There are so many different frames out there; here in New Zealand I struggled to find a frame I liked, I didnt want to be restricted to the Scrapbooking 12x12 size frames, and I also wanted mine to be different to a friend's ones she did. I managed to source mine from Briscoes, if your in America for example there seems to be a lot of options at places like Hobby Lobby, Walmart, Michaels etc. Down here the ones I did find that I really like were very expensive or were really small! There are so many different ways to make these, its really up to you how you do it, you can theme it out to what ever your putting into the frame, match it in with your nursery - the possibilities are endless and your only really limited to your own imagination and creativity!

Materials Needed: 
  • Shadow Box Frame or Box Frame or something similar. 
  • Material or Scrapbooking Paper
  • Baby Keepsake Items: Hospital Bands, Crib Card, Umbilical Cord Clamp, Hat, First Outfit, Booties, Photos, News Article Clippings, Birth Announcement etc...
  • Embellishment (optional)
  • Sewing Pins or Lilypins, Double Side Tape or Hot Glue

 First you want to collect the things you want to put in your frame. I have all my items I have kept for special keep sakes (including my medication I was taking throughout my pregnancy) for my daughter in a box that my best friend gave to me with my Baby Shower Present in it for the past two years..!


You also want to pick out a frame and some fabric for the backing (you can also use Scrapbooking Paper or paint it depending what kind of frame you have). I just so happened to have a remnant I picked up which is the same Fabric my mum used to make teething pads for on the cot! My frame is a UR1 Botanical Photo Frame White 10x13 with 6x8 Opening from Briscoes that I got on special (everyone knows Briscoes ALWAYS has sales on!!!).


If your frame has a photo mat like mine does then you want to take this out, you can keep it in but it limited what you can display, an alternative is to rearrange it to be by the base board to have a photo there. Again personal choice on how you want to display things. This is how my frame comes apart so you can see the layers. 


Next step, I used the piece of paper that came in with the details of the frame to lay my items out on to see how I wanted them laid out with the size of the frame I was using.


Once I was happy with my layout I took my base board and used it to measure the size fabric I wanted in my frame to cover the background, you can measure this out more specific but this was my quick way of doing it. You also dont have to use one single piece of fabric, layer them, use a small strip with a solid colour piece of paper, the choice really is yours. If your wanting to paint it, I would suggest adding in a piece of cardstock to paint, this way you dont have to fiddle around trying to make sure all the rivets etc on the back are covered up if your base board is set up like that. 


I then use lilypins to pin my clothing items to the fabric in a few places, these pins are smaller than your standard sewing pins, but these will work too. Some people use hotglue to put all their items on but I didnt want to do that with my clothing or anything. You can also use acid free double sided tape too if you wish, however over time it it may break down or lose it adhesive and your items may move depending on the depth of your frame. 


I also added a little bit of double sided tape to the corners and edges of my base board just to keep my fabric in place. :) 


This is how my finished layout looked, all that is left to do it put the frame on and close it up! 


My completed Frame hanging up in my daughter's bedroom. All up this took me less than an hour with a very active toddler running around to complete. I did make a little Photo Booth Style Strip of photos in Photoshop, I made the template up myself for this. And applied an action over the photos to make them black and white and toyed around with the settings a bit to get what I wanted from The CoffeeShop Blog.


I hope you enjoyed this tutorial!

This is sample Shadow Box Frame I did up temporary for my Sister in 2012 for her Guide Unit using a scrapbooking frame for Anzac. These are all memorabilia of my late Grandfather's from World War II in Egypt. 


This video is a friend's with her version of Shadow Box Memory Keepsake Frames - check out some of her other work at Moving Moments Videography and on her Youtube.